
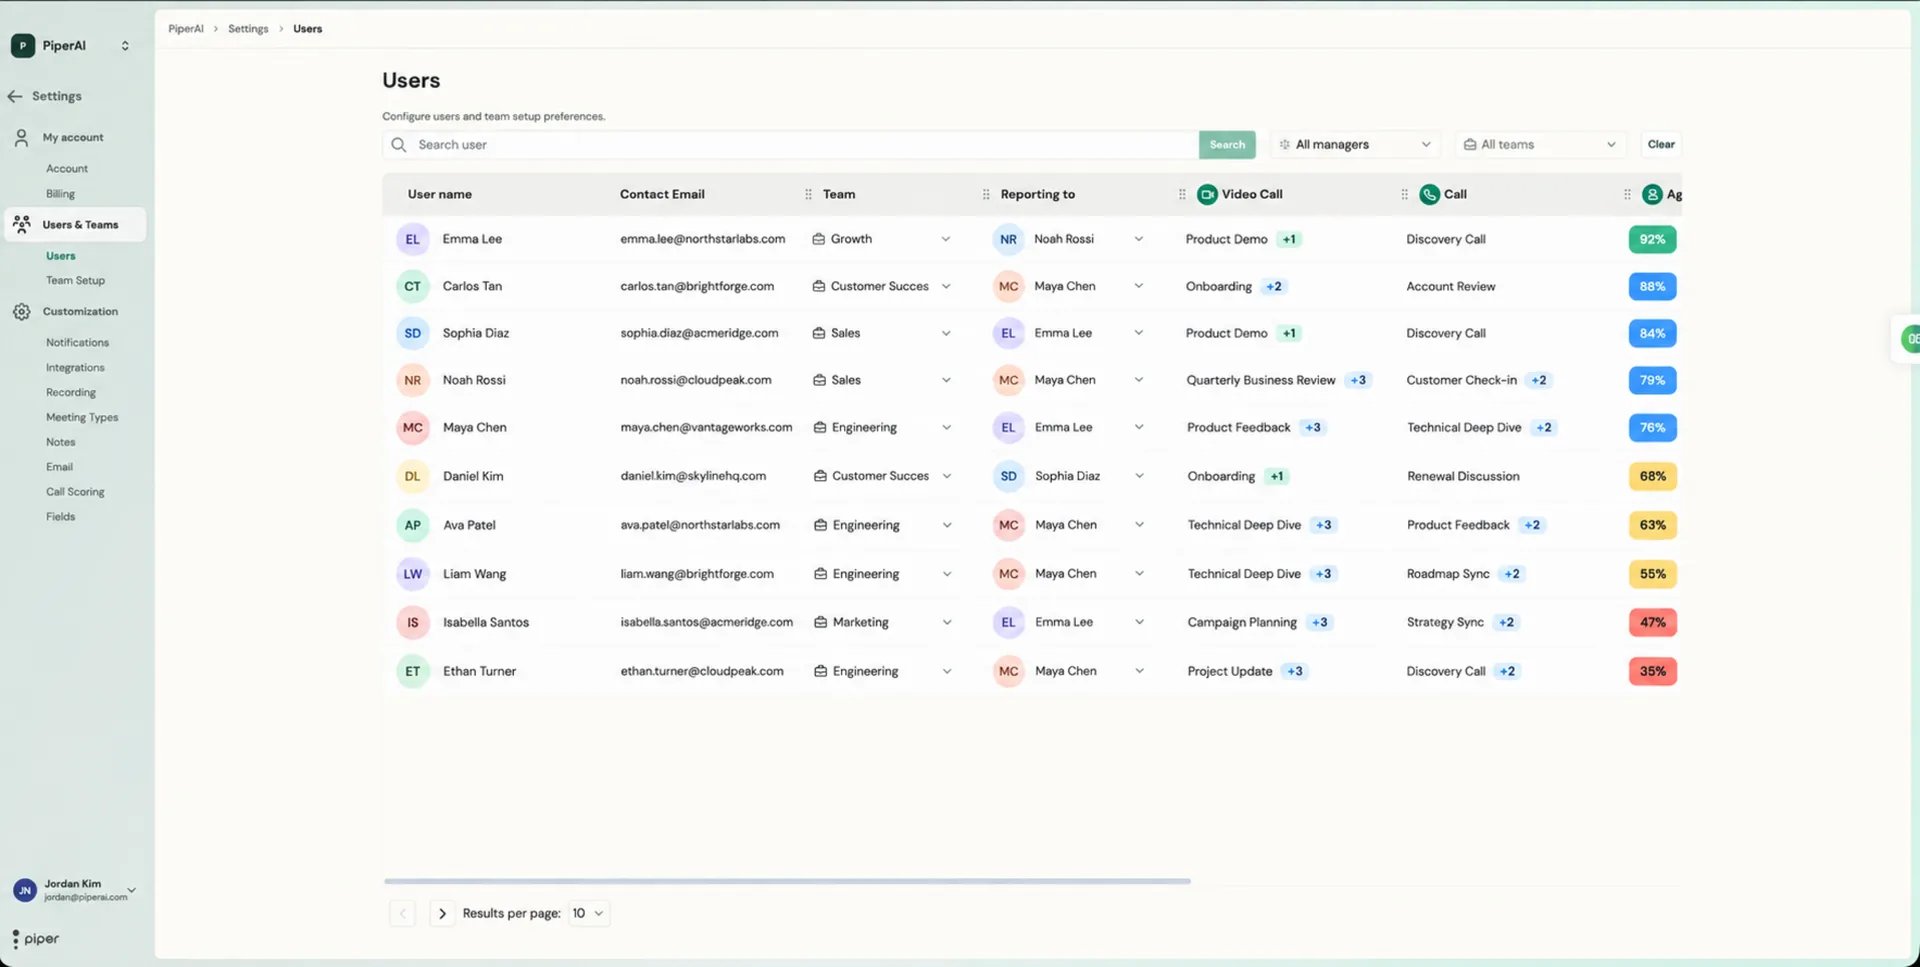
User Roles
Piper has three user roles: Read-Only, Standard, and Admin.For HubSpot integration, at least one Piper Admin must also hold the Super Admin role in HubSpot. This is required for the OAuth connection to work correctly.
Team Setup: Default Meeting Types by Role
Team Setup is where you define the default Meeting Type for each job function and each call modality. When a call comes in and no keyword match applies, Piper falls back to the Team Setup defaults to assign the right Meeting Type automatically. Navigate to Settings → Users & Teams → Team Setup to configure defaults.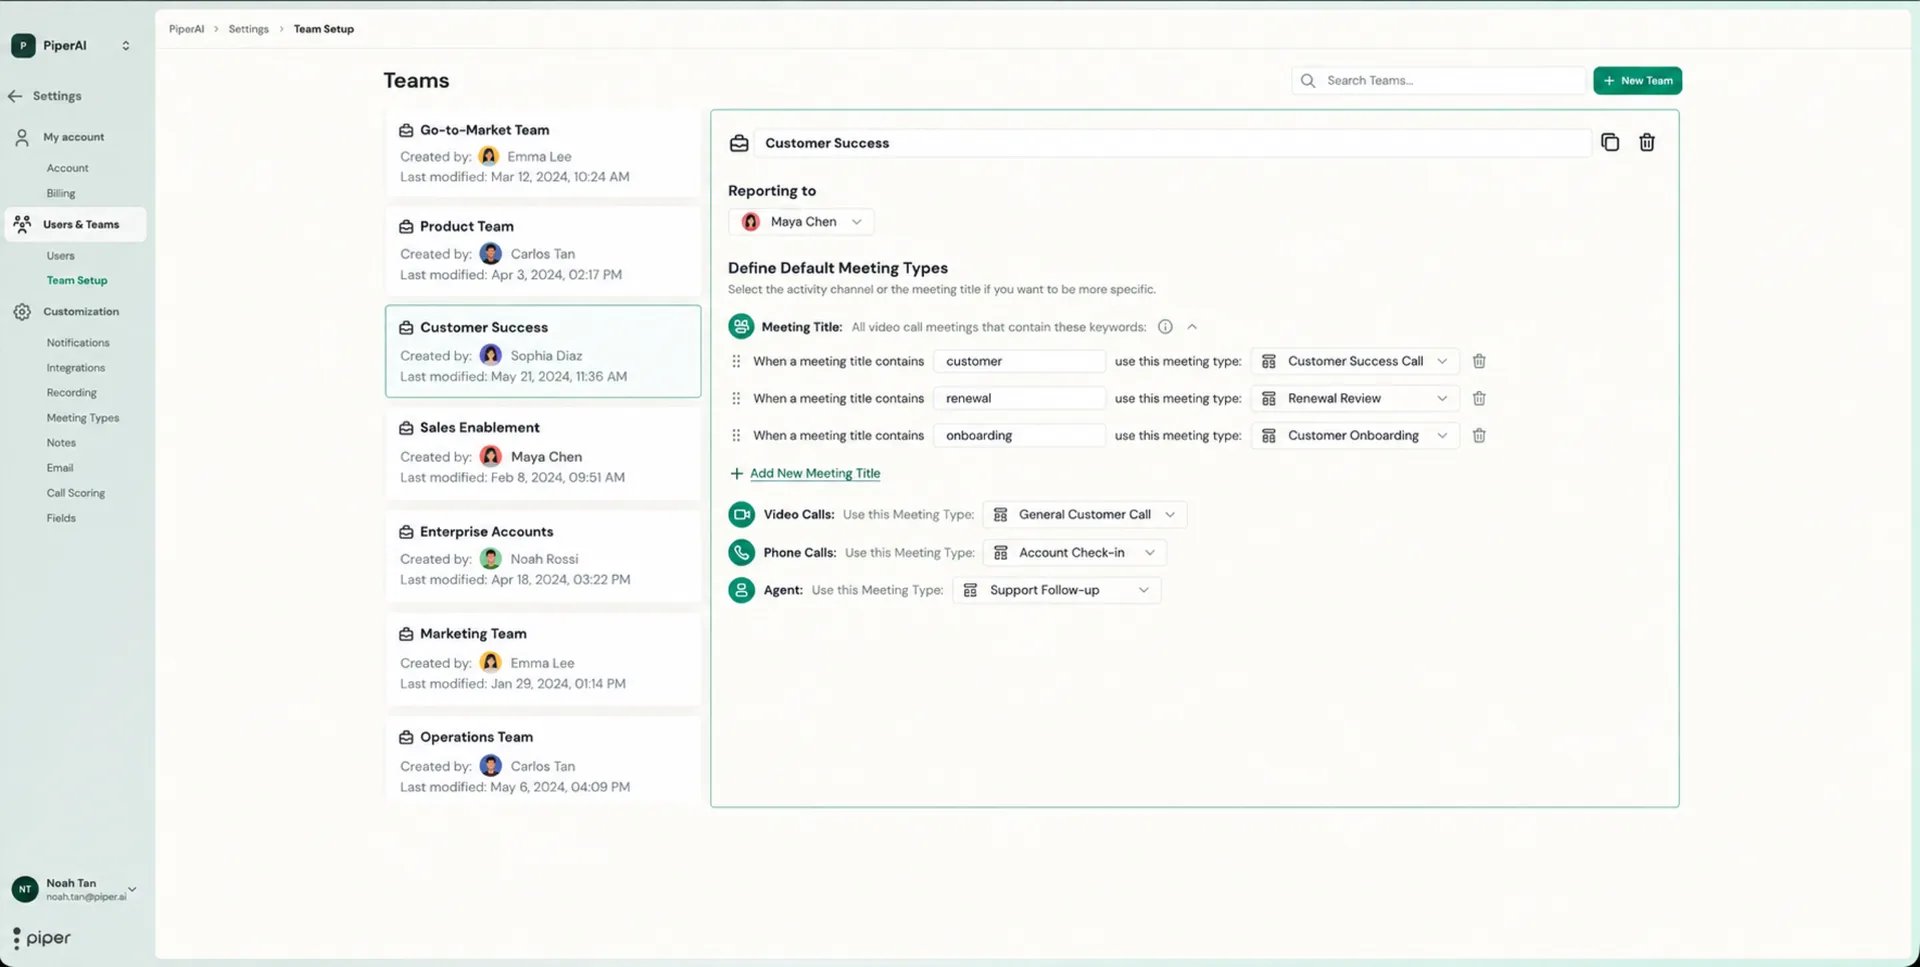
Example Team Setup
Here’s a typical configuration for a B2B SaaS revenue team:Managing Users
From Settings → Users & Teams, you can:- Invite new users — Send an email invitation that walks the new user through connecting their calendar and configuring their account.
- Change roles — Promote a standard user to Admin or demote an Admin to standard user.
Bot Name and Connection Message
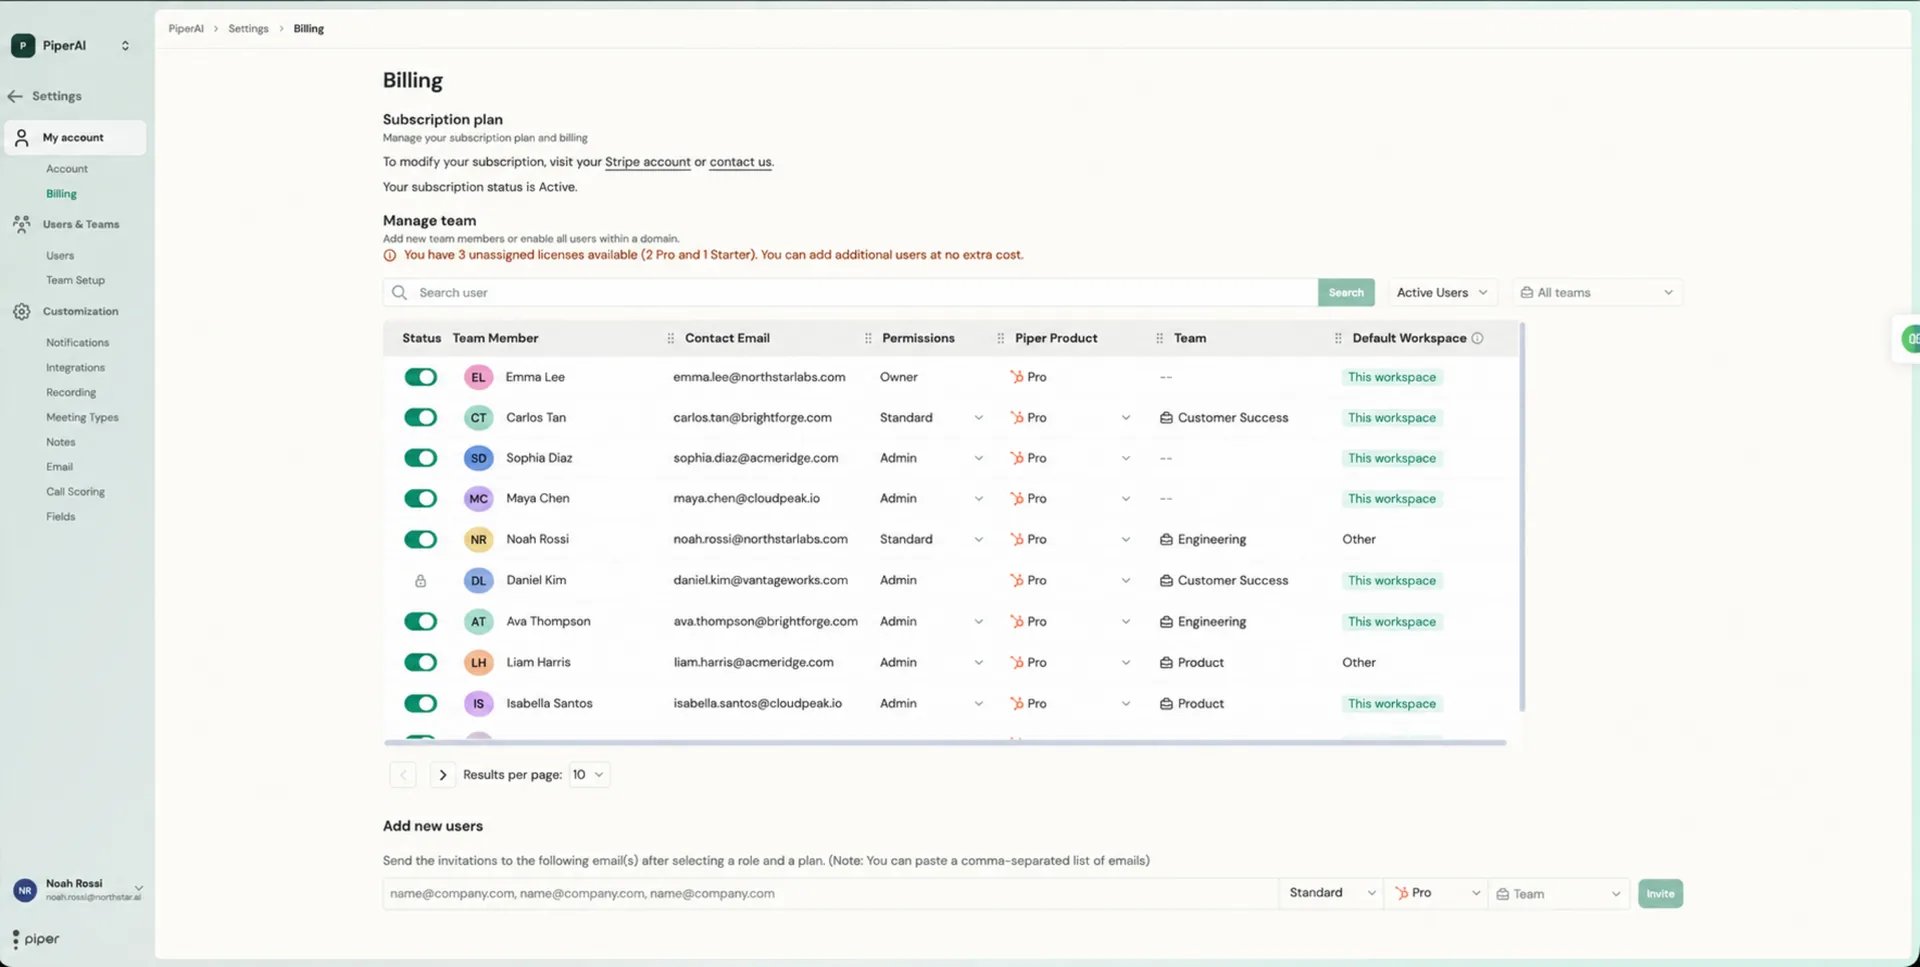
Each user on your team can have a personalized bot display name and connection message — the message the bot sends to attendees when it joins a meeting. To update these for a specific user:1
Open Users settings
Go to Settings → Users and find the user you want to configure.
2
Edit the bot name
Enter the name the bot should appear under in the meeting. For example:
Alex's Notetaker, Piper AI, or your company name.3
Edit the connection message
Write the message the bot will send when it joins. A clear, friendly message helps attendees understand the recording purpose upfront.Example: “Hi, I’m [Name]‘s AI assistant — I’ll be taking notes during this call so [Name] can stay focused on the conversation. Reach out if you have any questions.”
4
Save changes
Save. The new name and message take effect on the user’s next bot-joined meeting.
How Auto-Assignment and Team Setup Work Together
Team Setup defaults are the second layer in Piper’s three-step Meeting Type auto-assignment process:- Keyword matching — Piper checks the meeting title against your keyword rules first.
- Team Setup defaults — If no keyword matches, Piper uses the role-based defaults you’ve configured here.
- Global fallback defaults — If neither applies, Piper falls back to the workspace-wide call type defaults set in Settings → Meeting Types.